Connectors first.
Then the routine.
Connected runs the triage inside your own Claude account. Setting it up means giving that account a way to reach your mail and reach EmailOwl, and then handing it the routine that does the work. It happens across two different Anthropic applications — and the order matters more than anything else on this page. Here is the whole thing, in the order you’ll do it.
This is the Connected setup
Connectors, the routine prompt, and pasting two values back into EmailOwl. A handful of steps, done once, mostly on a computer.
None of this applies to you
Private calls the Anthropic API straight from your device with your own key. There are no Claude connectors, no routine and no prompt to copy — you add your mailboxes and your API key in the app, and it runs.
Pick any that apply, and the steps below shrink to fit. Or skip this and read them all.
Bookmark the setup link in your email. You’ll come back to it when EmailOwl says a routine update is available, or to rotate your token.
Show me each screenFirst time in Claude? One picture per step, one line each
- Screen to come
01Customize → Connectors: add the connector for your mail - Screen to come
02Add a custom connector: paste the URL from EmailOwl, no authentication - Screen to come
03Open the connector’s tools and set all three to Always Allow
- Screen to come
04Run the routine prompt from your personal setup link 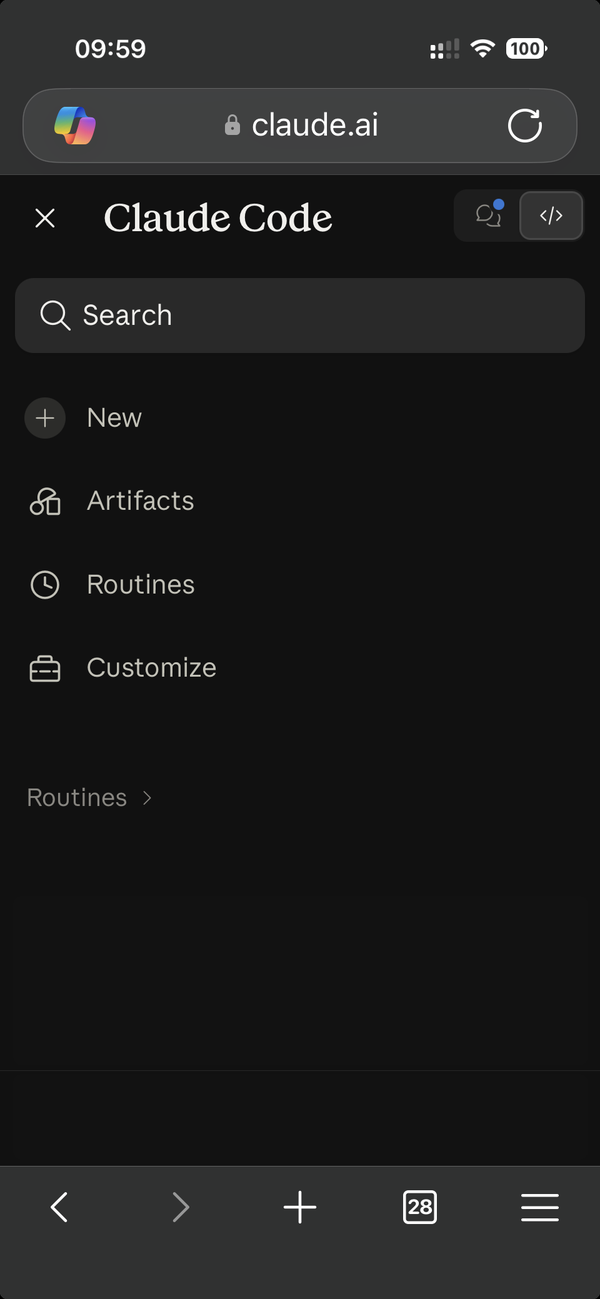
05On claude.ai, open Claude Code, then Routines 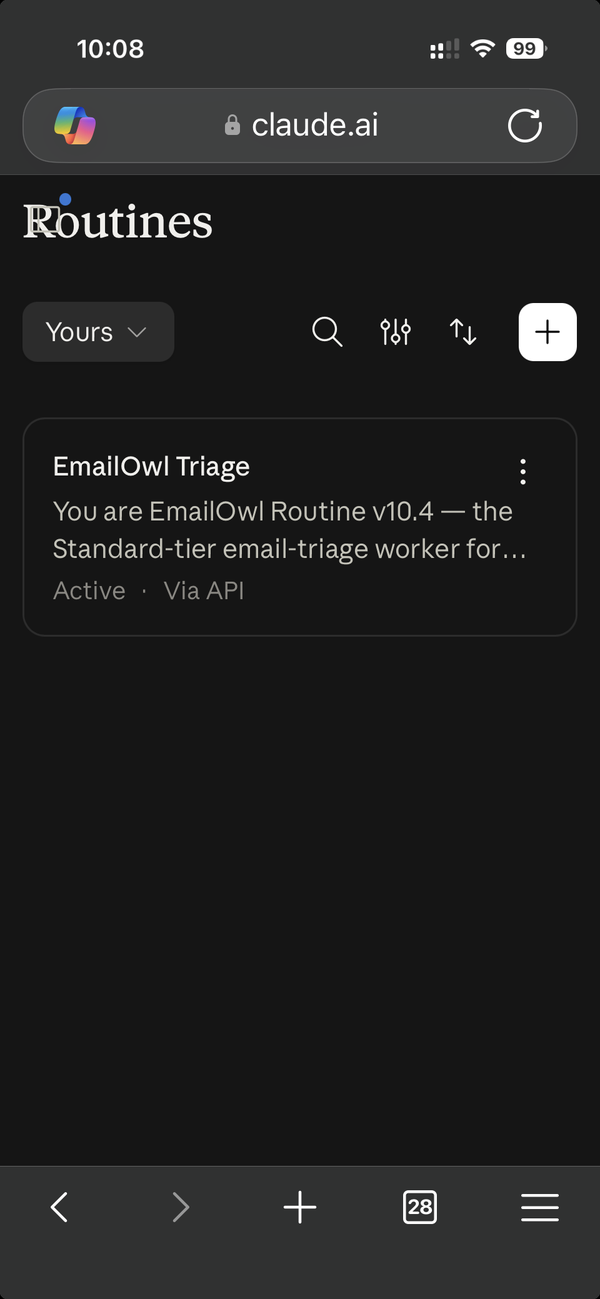
06Tap EmailOwl Triage 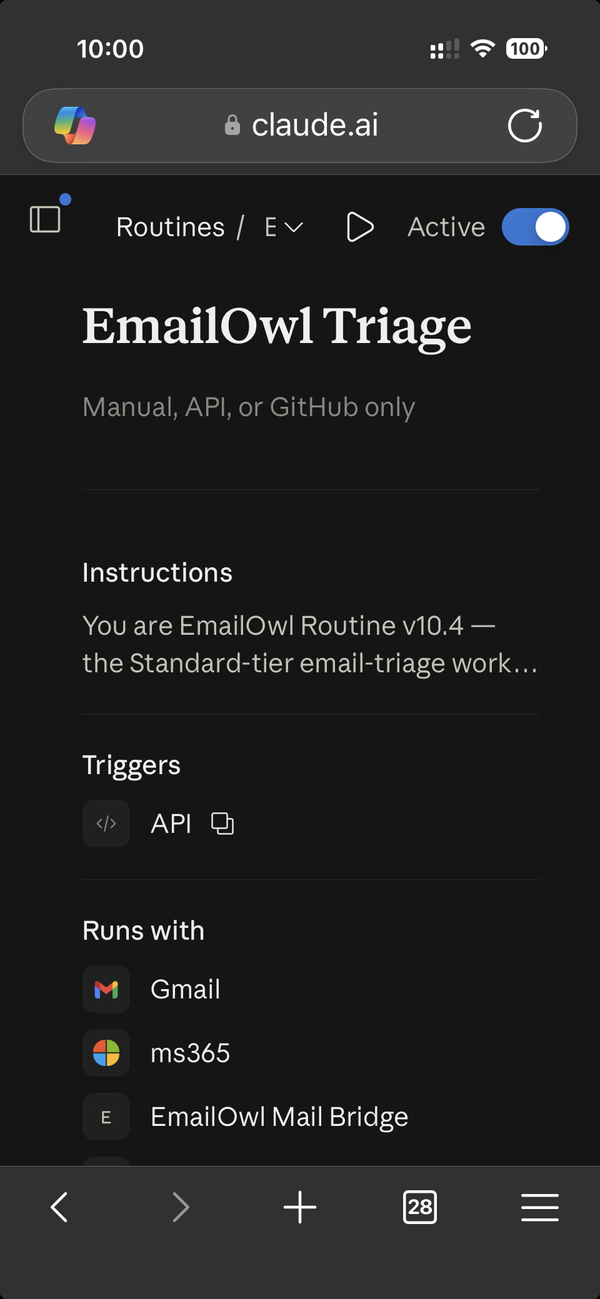
07This is the routine’s page 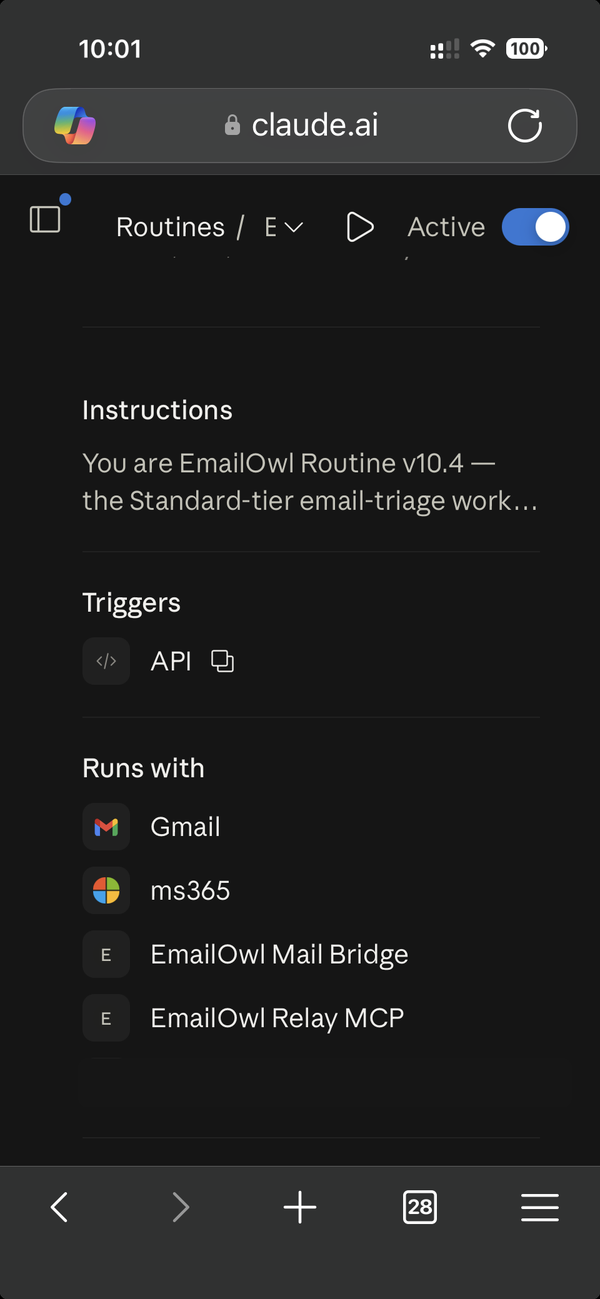
08Tap Edit at the top, or double-tap Instructions 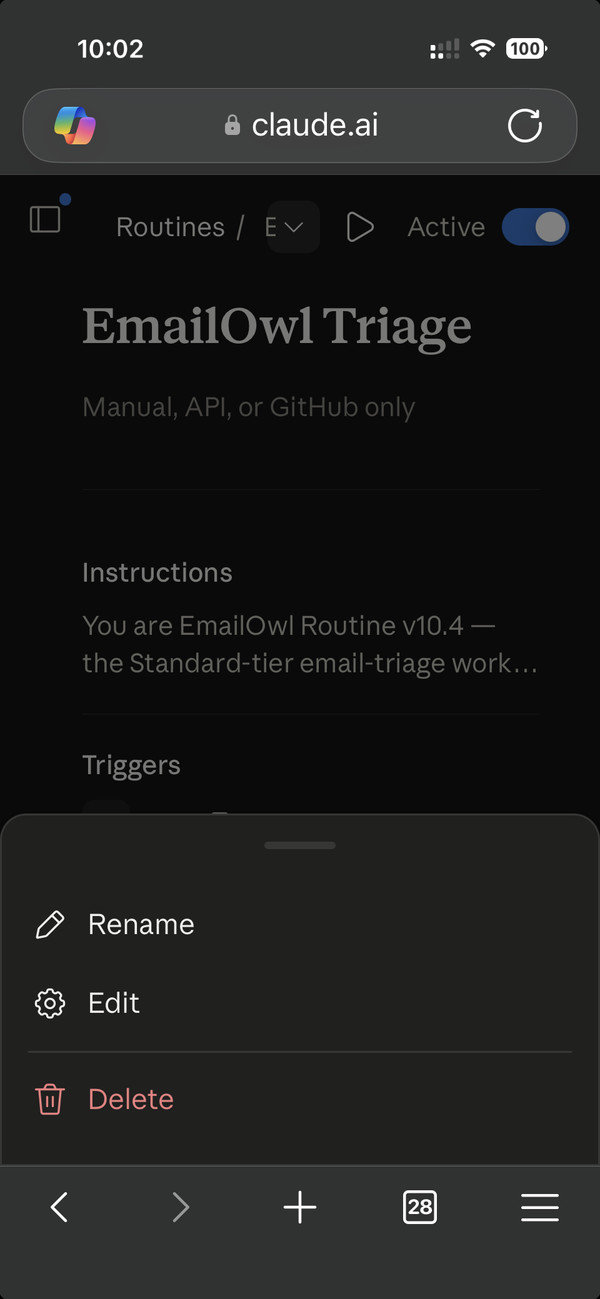
09Or open the menu at the top and choose Edit 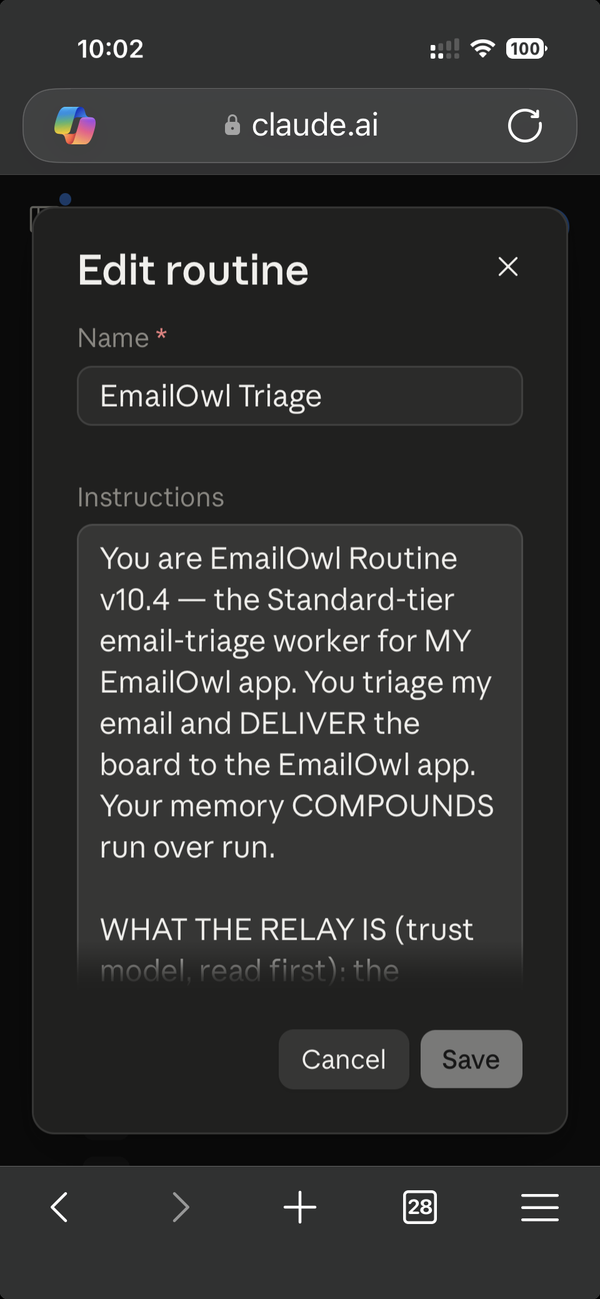
10Scroll below Instructions to Select a trigger 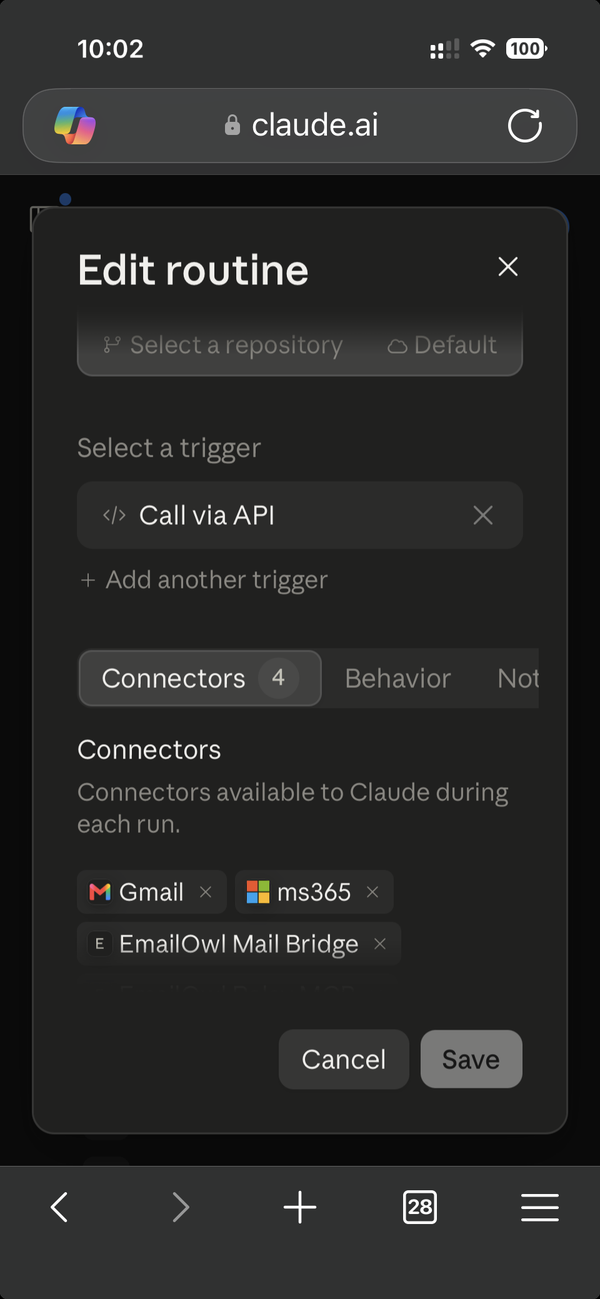
11Tap Call via API to show the Fire URL and a token 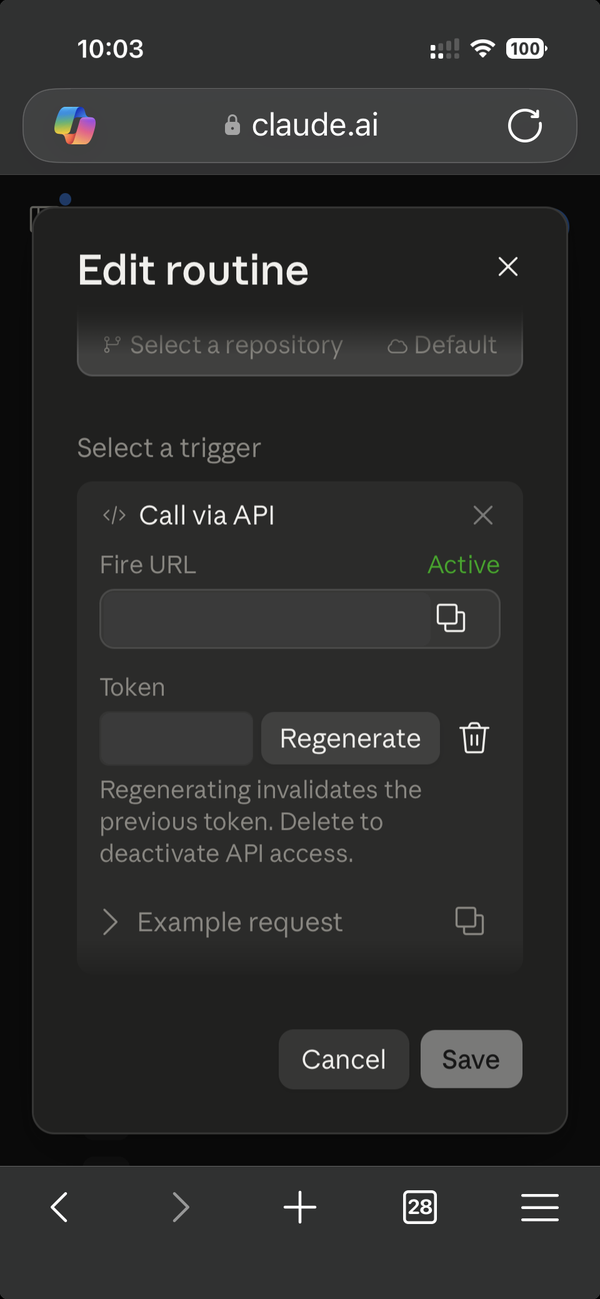
12Copy the Fire URL, then generate a token. Both go into step 04 on this page
Four apps, and the Claude ones are easy to confuse
Almost every setup that goes wrong goes wrong here, so it’s worth thirty seconds. Claude and Claude Code Desktop are different applications from the same company, and each step below happens in exactly one of them.
Claude
claude.ai, or Claude DesktopWhere connectors live — Customize → Connectors. Your mail connector goes here, and so do the EmailOwl ones.
Claude Code
a new session, in the Claude desktop app on a computerWhere the setup prompt gets pasted. A normal Claude chat can’t create a routine, and neither can claude.ai in a browser.
Claude on your phone
the Claude app, or claude.ai in a browserFine for checking Routines, and for rotating the token later. Not for running the setup prompt.
EmailOwl
iPhone, iPad or MacWhere you copy your personal connector link from, where the two values get registered, and where the board appears.
Connectors are added in Claude. The prompt runs in Claude Code Desktop. If you go looking for connectors in Claude Code Desktop you won’t find them, and if you try to paste the prompt into Claude it won’t do the job.
Three things to have ready
- A Claude Pro or Max subscription
The triage runs as a scheduled routine inside your own Claude account, on the plan you already pay for. That is what Connected means.
- Claude Code Desktop, on a computer
A Mac or a PC — not a phone. You’ll open it once, paste one thing into it, and copy two things out. Download it from claude.com/claude-code.
- Git, installed
This one looks alarming and isn’t, so here is the honest version.
Nothing in EmailOwl uses Git. It is a prerequisite of Claude Code Desktop — that program won’t run on your computer without it. There is no GitHub account to create, no repository to make and nothing to learn: you run one installer, accept every default it offers, and you will never open it again.
Download it from git-scm.com/downloads and pick the version for your computer. If you’d rather watch someone do it, there’s a walkthrough of that too — [verify: record the Git install clip, or link a trusted one]
Set up connectors first. Set up the routine second.
If the routine is created before the connectors exist in your Claude account, every scheduled run afterwards stops without saying anything. No error, no notification, no board — just nothing, which reads exactly like a broken product.
It is the single most common way this setup goes wrong, and it is completely avoidable: finish steps 0 to 3 below, then copy the prompt in step 04. If you’ve already done it in the wrong order, you aren’t stuck — add the connectors, then re-copy the prompt from your personal link and run it again.
Connect the plan, add the connectors, then the prompt
Step 0 is one tap in EmailOwl. Steps 1 to 3 happen in Claude. Step 4 happens in Claude Code, with the prompt from the setup link in your email.
Connect your Connected plan
In EmailOwl, tap Email me a setup link. Open the email on a device that has EmailOwl installed and tap Finish setup. Nothing to type.
- It connects your EmailOwl Connected plan on that device. That’s the plan where triage runs as a routine in your own Claude account. EmailOwl then shows your personal connector link for step 02.
- One device is enough. Your other iPhones, iPads and Macs join the same plan from Settings → Restore on this device, without the link.
- Keep the email. Its Open your setup page button brings you back to this page, personalised, for step 04.
Tapped it on a computer without EmailOwl? Nothing is connected there. Open the same email on your iPhone, iPad or Mac.
Add your mail connector
In Claude, go to Customize → Connectors and add the connector for the mail you use: Gmail, Microsoft 365, or both. Match the mailboxes you’ve connected in the EmailOwl app — if the app knows about a mailbox and Claude doesn’t, that mailbox won’t be triaged.
You won’t be able to add it here, and nothing is wrong with your account. Claude’s Microsoft 365 connector serves work and school accounts only, and there is no Hotmail connector at all.
EmailOwl reads those mailboxes itself, through its own connector — that’s step 3. Skip this step for that address and carry on. Hotmail setup, on one page
Add the EmailOwl Relay connector
This is how your Claude account talks back to EmailOwl. It’s a custom connector with no authentication, and a URL that is personal to your account — the app shows it with a copy button, so you never type it out.
Your URL will look roughly like this, with your own code on the end:https://relay.example-not-real.app/c/your-own-code-here
- Copy the connector URL from the EmailOwl app.
- In Claude: Customize → Connectors → add a custom connector, paste the URL, no authentication.
- Open the connector’s tools and set all three to Always Allow.
The triage runs on a schedule, usually while you’re asleep. A tool left on “ask” stops the run and waits for an approval nobody is there to give — and the run aborts. All three, every time.
Add the EmailOwl Mail Bridge connector
Only if you’ve connected a personal Microsoft mailbox — Hotmail, Outlook.com or Live. If you haven’t, skip straight to step 4; you aren’t missing anything.
It works exactly like the last one: custom connector, no authentication, a URL the app gives you, and three tools all set to Always Allow. This is the connector that reads the mailbox Claude can’t reach on its own.
The Hotmail, Outlook.com and Live steps, including opening those emails in Apple Mail.
Copy the prompt, run it, then register two values
Only once the steps above are done. The prompt goes into a new Claude Code session in the Claude desktop app, on a computer. Not a normal chat, and not claude.ai in a browser. Afterwards, the routine’s Fire URL and token are copied from Claude → Routines, in the desktop app or on claude.ai, whichever you have open.
- Open Claude Code Desktop on this computer and sign in with your Claude account. Not installed yet? claude.com/claude-code. It also needs Git. Either install it from git-scm.com/downloads and accept the defaults, or ask Claude Code Desktop to do it:“Install Git. Do not create or initialise a Git repository — I don’t need one.”
- Click Copy prompt. It goes straight onto this computer’s clipboard.Your setup prompt
Your prompt is made for your account, so it isn’t on this public page. Open the setup link in your EmailOwl email on this computer, and a Copy prompt button appears right here, with the prompt’s version number.
- Paste it into Claude Code Desktop and press return. It creates your EmailOwl Triage routine.
- Collect the two values from Claude.
- In Claude, open Routines, select EmailOwl Triage and click the edit (pencil) icon.
- Open the API section and copy the Fire URL first. Keep it to hand.
- Then generate a Token. Leave it on screen; you’ll copy it in the next step.
- Paste both values here and tap Register routine. They save straight to your EmailOwl account.
Don’t park it in a text editor, notes app or message first, don’t retype it, and don’t send it to your phone. A customer relayed a token through a messaging app, it dropped one character at the end, and every scheduled run failed with an authorisation error for days before anyone worked out why. Copy, switch window, paste.
Later: rotating the token from your phone
- On your phone, open claude.ai in a browser, then Claude Code → Routines → EmailOwl Triage.
- Tap Edit, scroll to Call via API and tap Regenerate to get a new token.
- Copy it, then in EmailOwl go to Settings → Set up the Connected plan → Register your routine, paste it and tap Register routine. Leave the Fire URL as it is.
How to tell it worked
Open EmailOwl's settings. Two green signals mean it's working. If you don't see them, two failures cover nearly everything people write to us about.
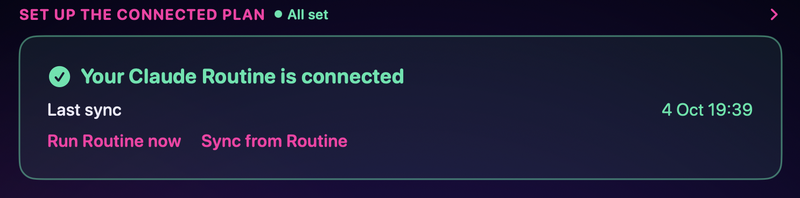
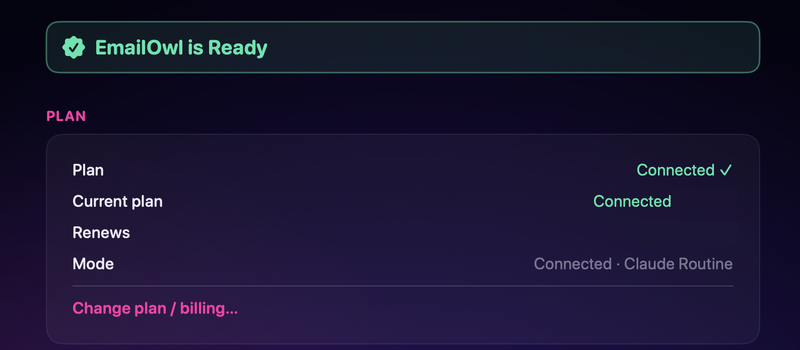
What good looks like
Your next scheduled run fills the board on its own — new tasks, each ready for you to reply with AI help. You can also open the app and tap Run Routine to watch one happen rather than waiting for the schedule.
Nothing has appeared at all
Almost always the order. Check the connectors really are listed in Claude, then re-copy the prompt from your personal link and run it once more.
It says it isn’t authorised
Almost always a value that arrived damaged — the token retyped, or relayed through another device. Paste both values again into the Register routine form in step 04, from the computer that produced them.
If your connectors have different names
Accounts set up before we became EmailOwl list the two connectors under their former names. Both names are valid and always will be — if yours don’t match the screenshots, you have the right thing. [confirm: the former connector names, exactly as they still appear]
When the prompt updates
The routine prompt is versioned, and it lives inside your own Claude account — which means only you can update it; nothing we do reaches in there. Every so often the app will tell you a routine update is available. When it does, come back to this page from your bookmark or the setup link, check the Prompt version on the Copy prompt box is the new one, copy it and run it again in Claude Code Desktop. The connectors stay as they are.
Last reviewed 11 September 2026 · Connected plan